HodgepodgeMom

The art and heart of homeschooling

  • Facebook
  • Instagram
  • Pinterest
  • Twitter
  • YouTube
  • About Us
  • Art Lessons
  • Blog
  • Tricia’s Book
  • Homeschool
  • Recipes
  • Shop
Home » Blog » The Art of the Drip Castle

July 19, 2011 by: Hodgepodgemom

The Art of the Drip Castle

If you don’t know me personally, you may not know how much I love the beach. Fair-skinned and freckly though I am, I long to get back there. Today, I am reliving building sand castles last summer. And counting the days, with a lovely beach count down chain, until we get back there again…Ahhh. Toes in the sand…

Sharing a post from the July 2010 Hodgepodge archives, which you could consider the annual Habit of Making Drip Castles…

~~~~~~~~~~~~~~~~~~~~~~~~~~~~~~~~~~~~~~~~~

On beach trips growing up all I knew were drip castles. I never imagined using buckets and shovels to shape and define castle walls. See when we went to the beach we walked a good long way from the house to the shore. Most folks drove their dune buggies. Now that I’m a Mama, I realize that was probably the reason why we didn’t tote building supplies.

My mother, father and grandmother all taught me and my brother the art of drip castle building. All you need is sand and water. Both abundant at the seashore.

When we go each year, now with our children, we don’t have as far to walk but I still go back to drip castles. It’s comfortable and beautiful.
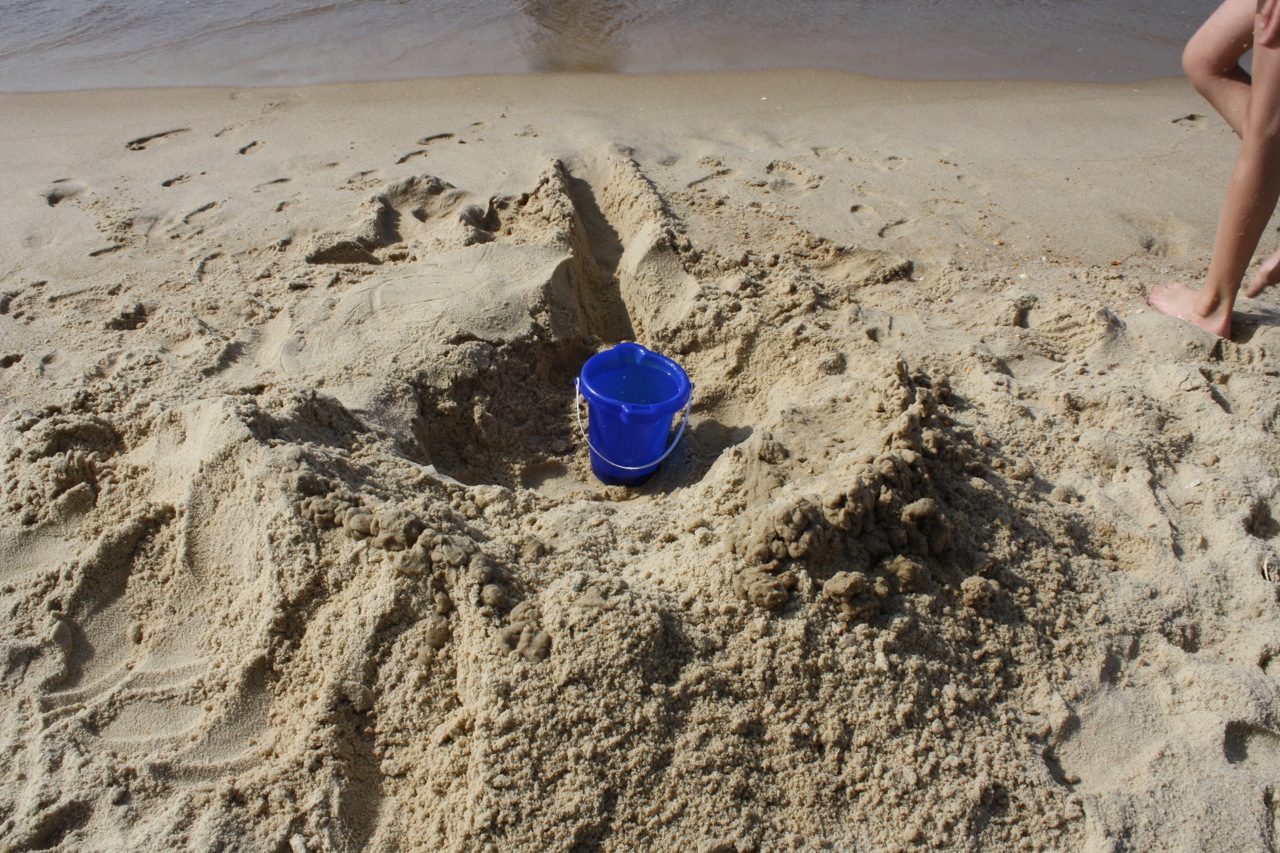
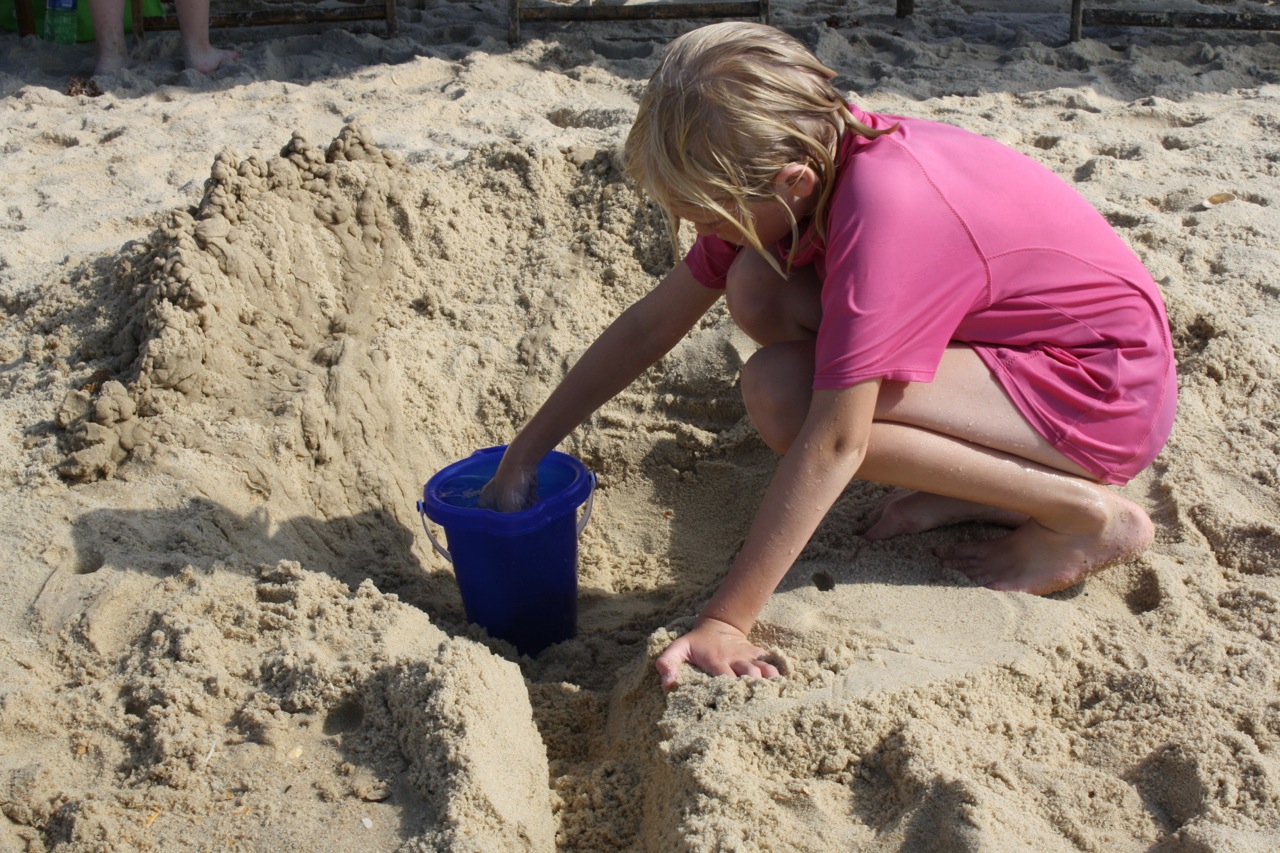
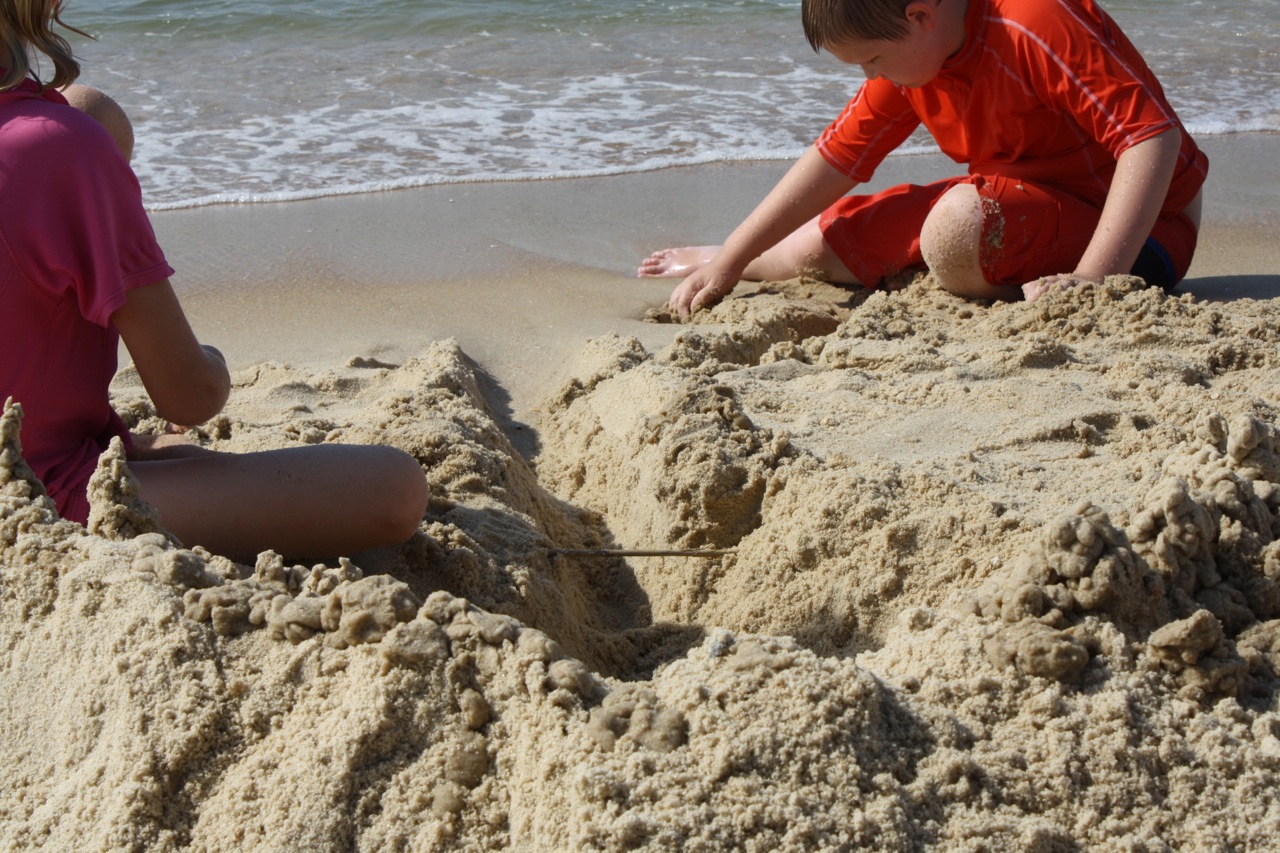
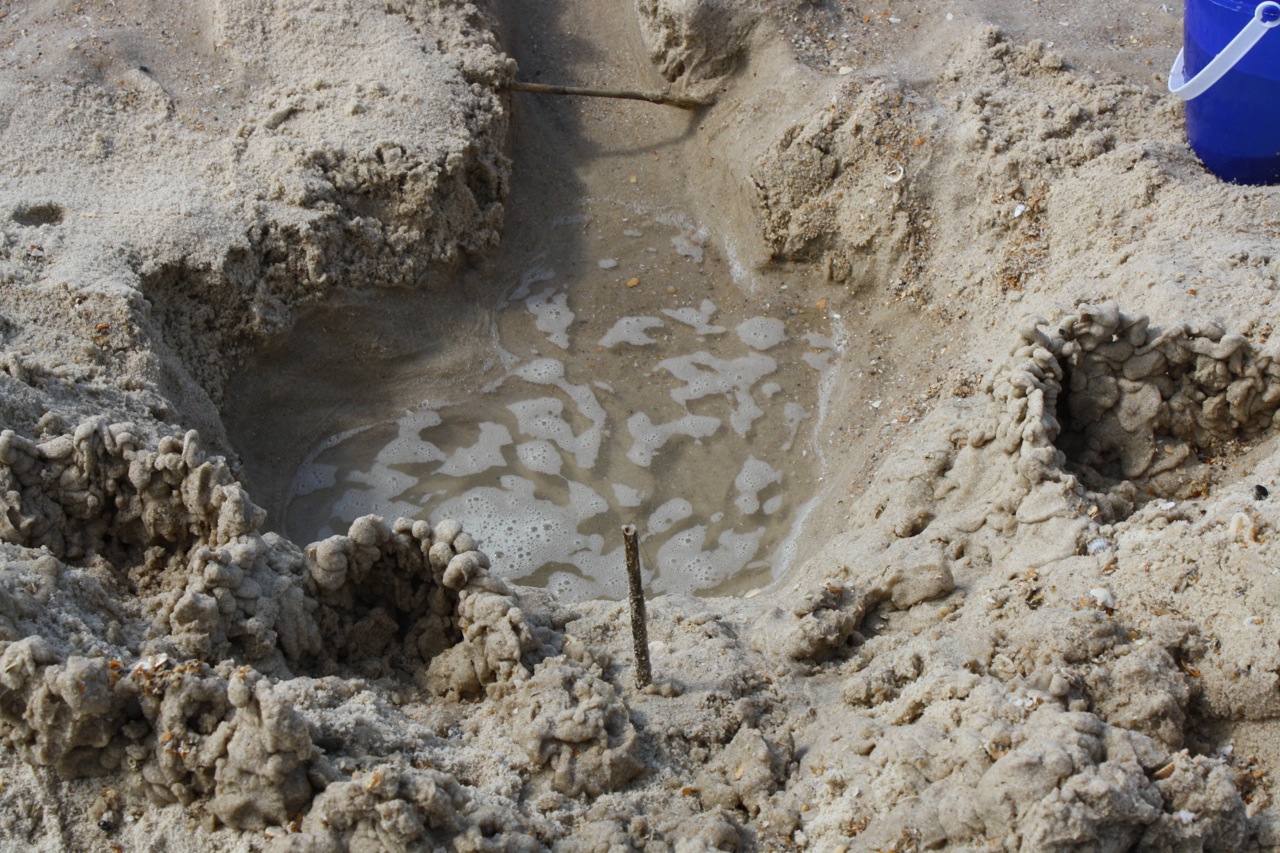
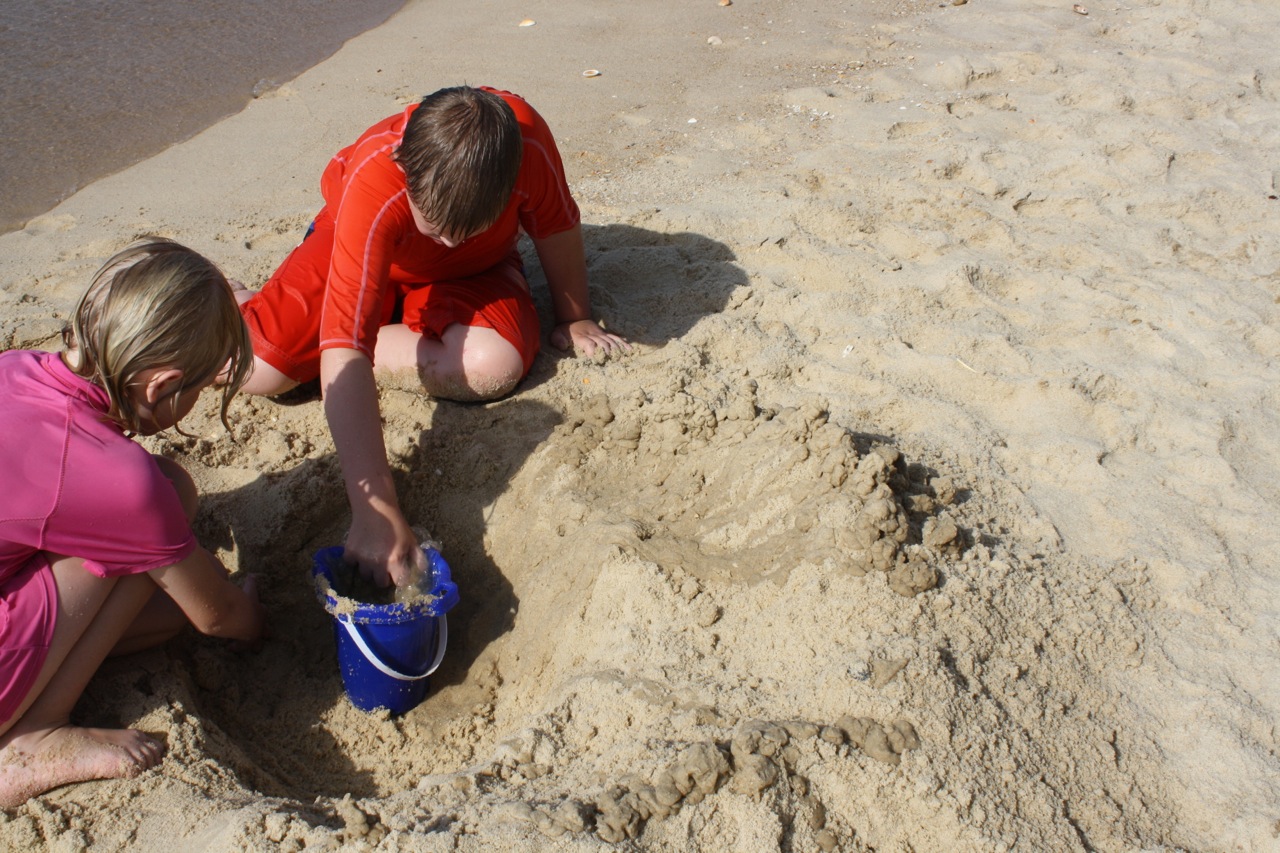
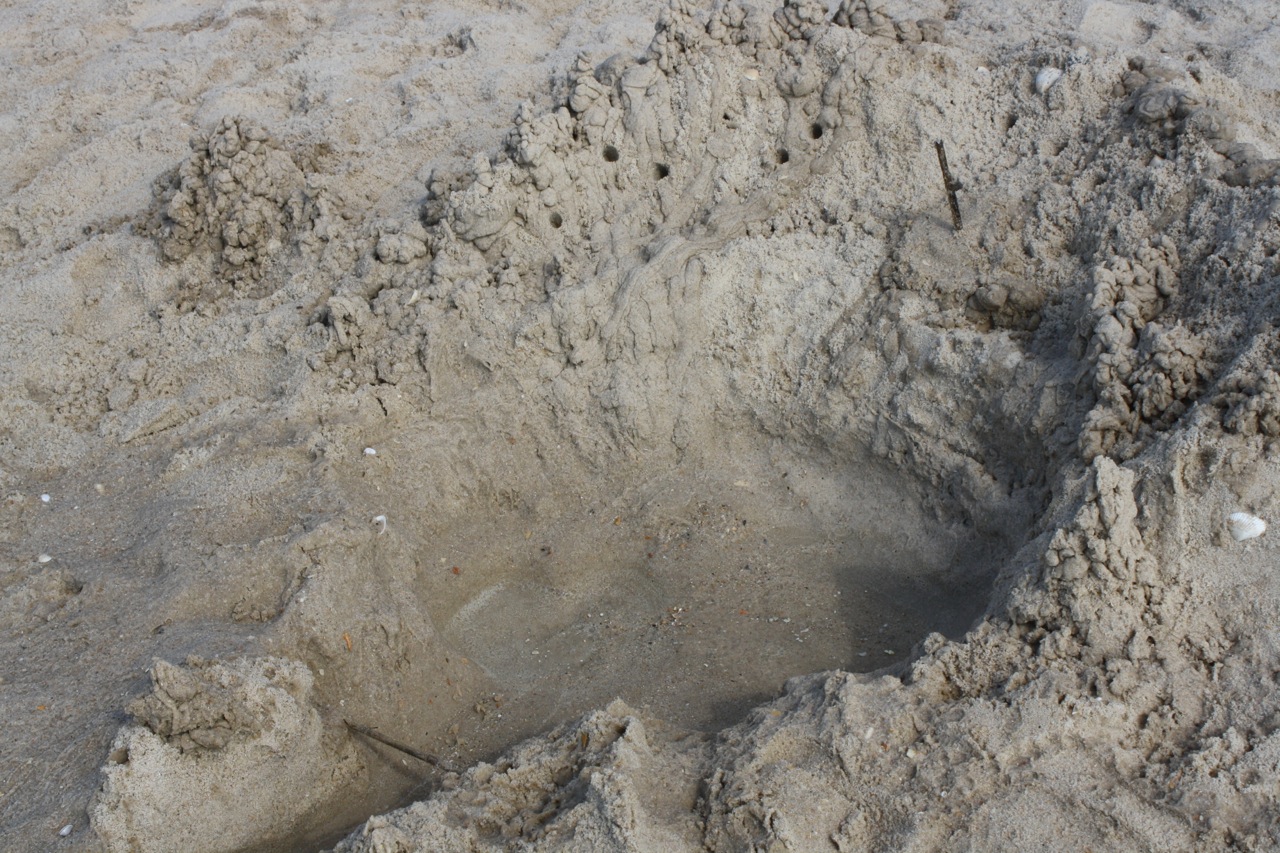
Start by digging a hole. As you dig, make a semi-circle base for your walls. You need the hole for collecting water the surf brings in. Your castle is built around it.

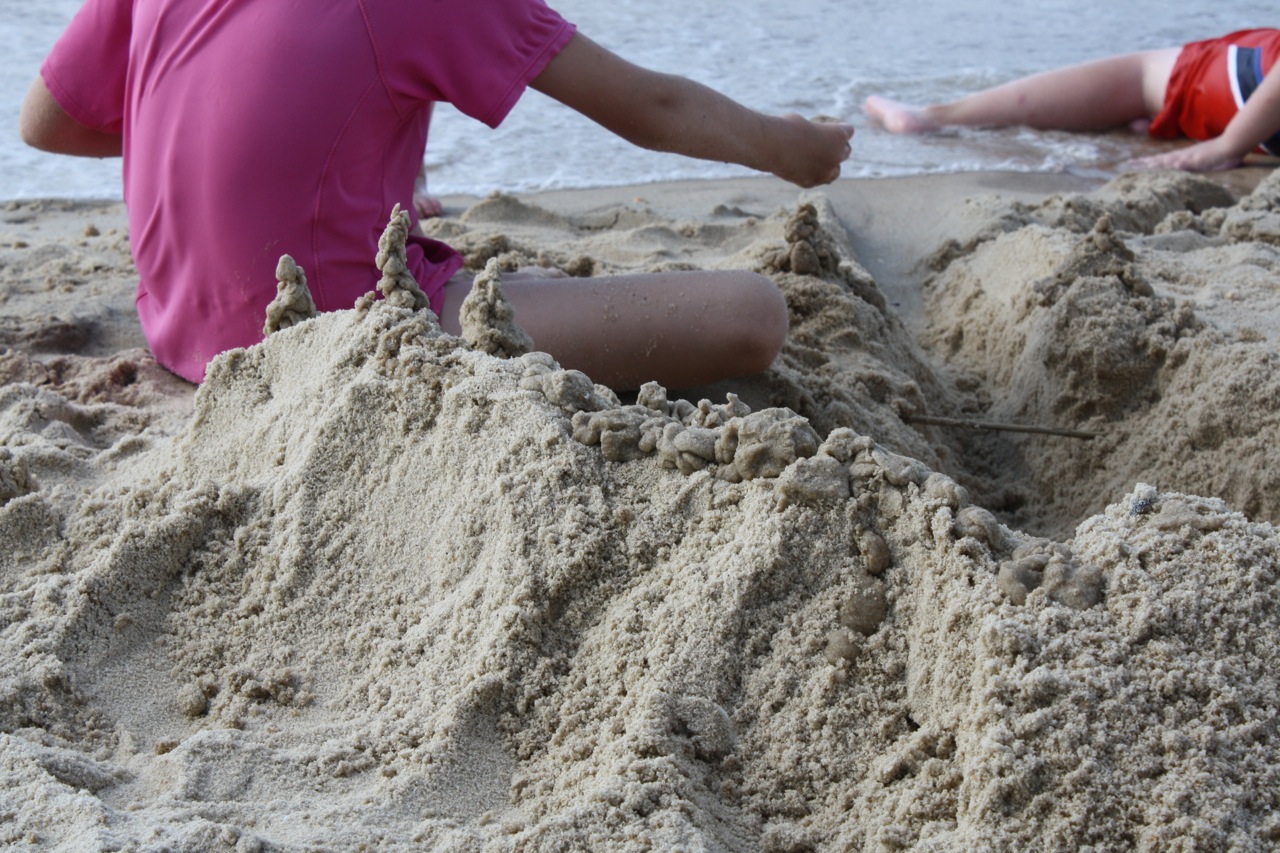
Make sure you also build a channel to direct the water from the surf.

Then the water will come to you.

Next comes my favorite part. The decorating. The art part.

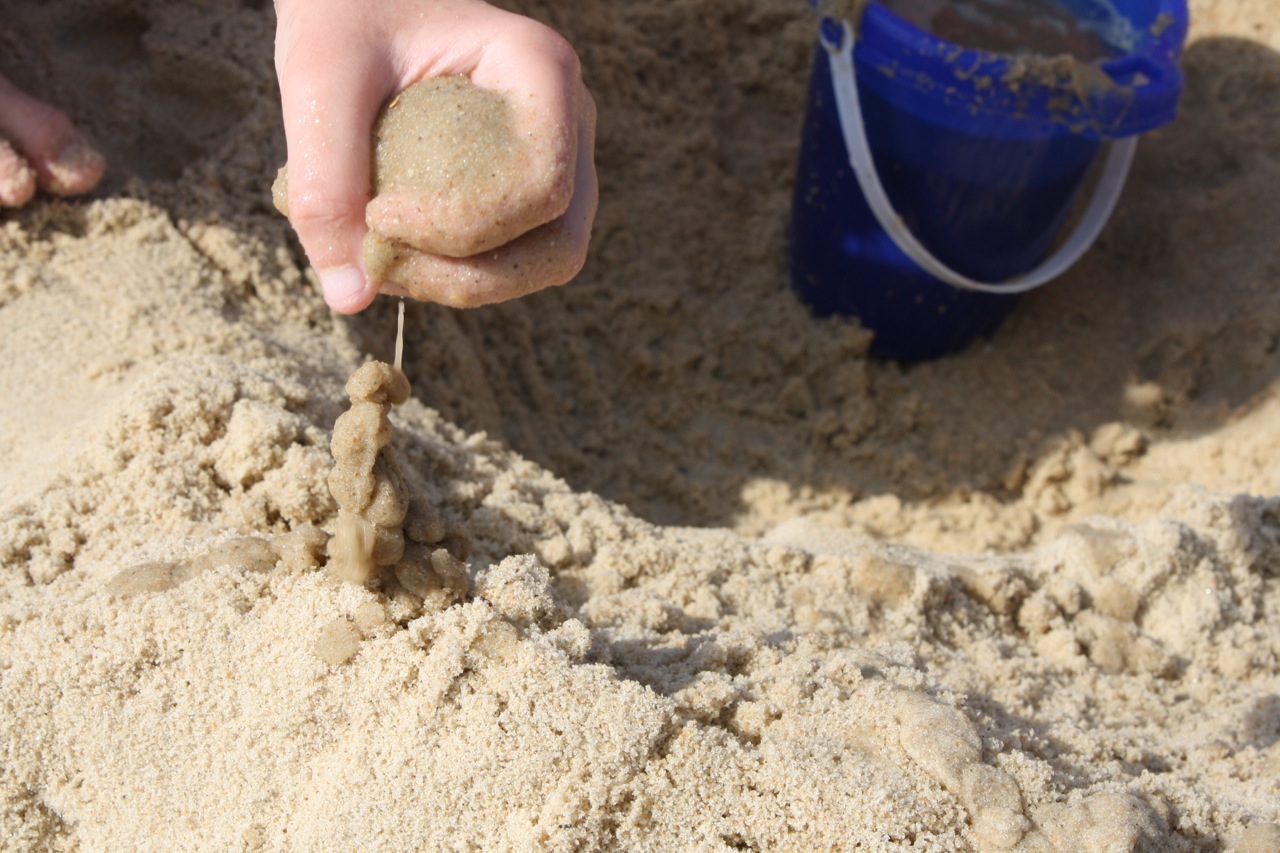
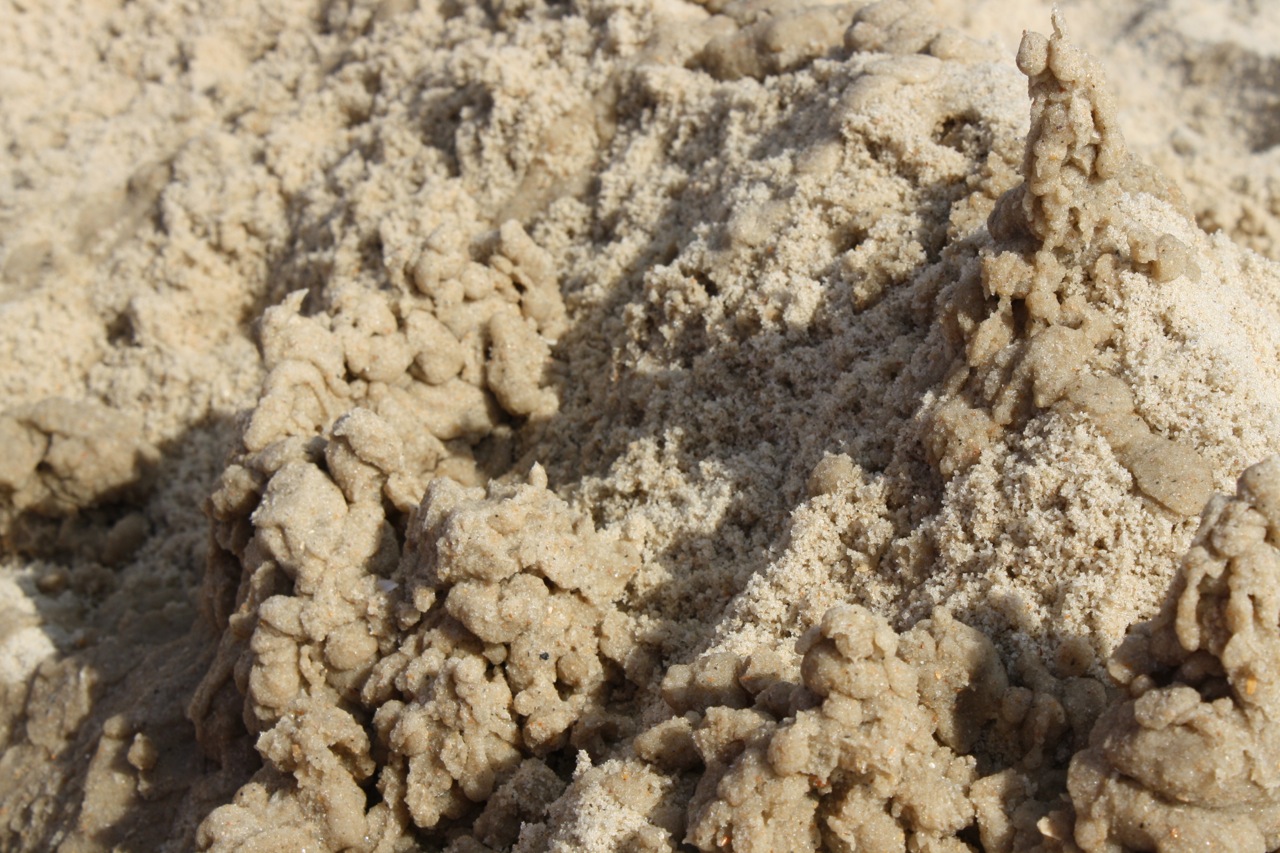
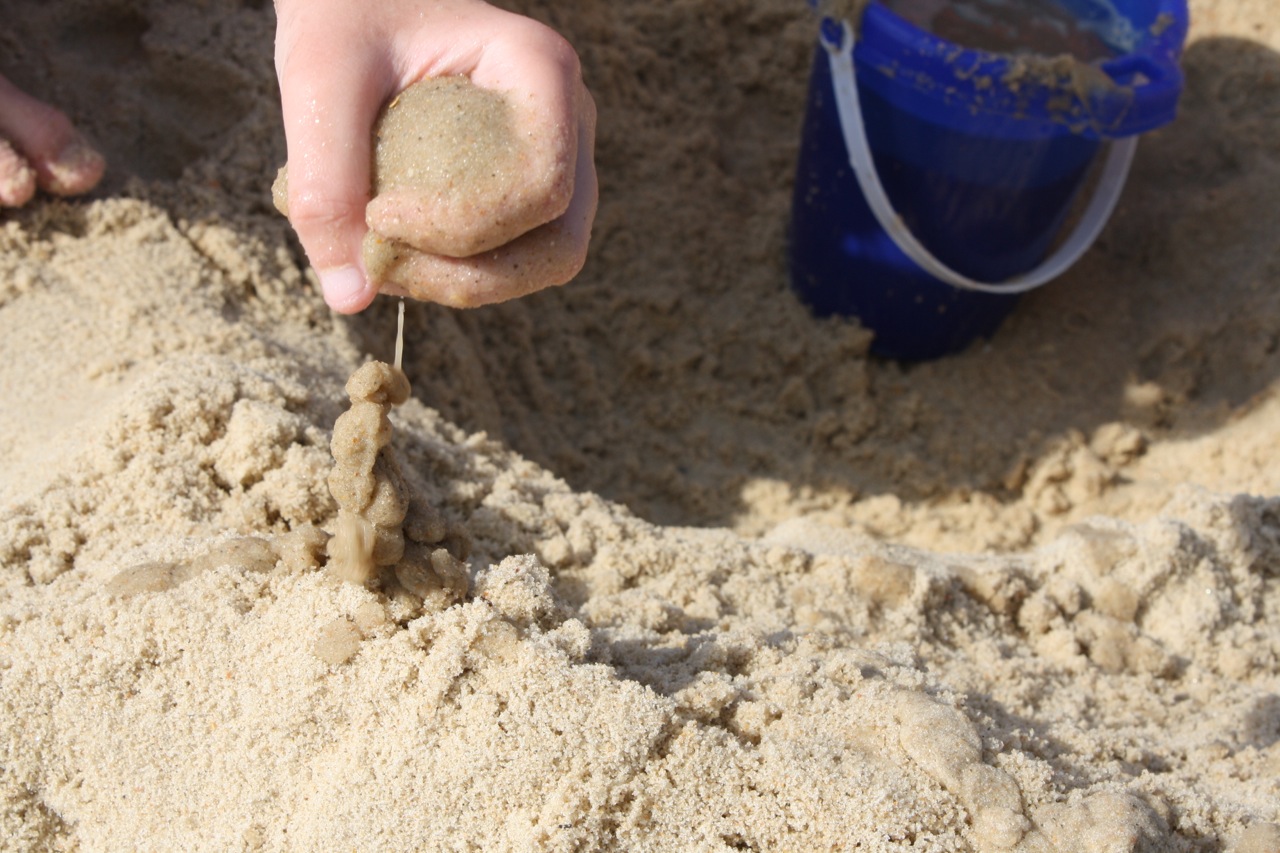
Dip your hand into your collected water. Scoop a handful of sand. Then let the wet sand drip from your hand. You can direct it anyway you like.

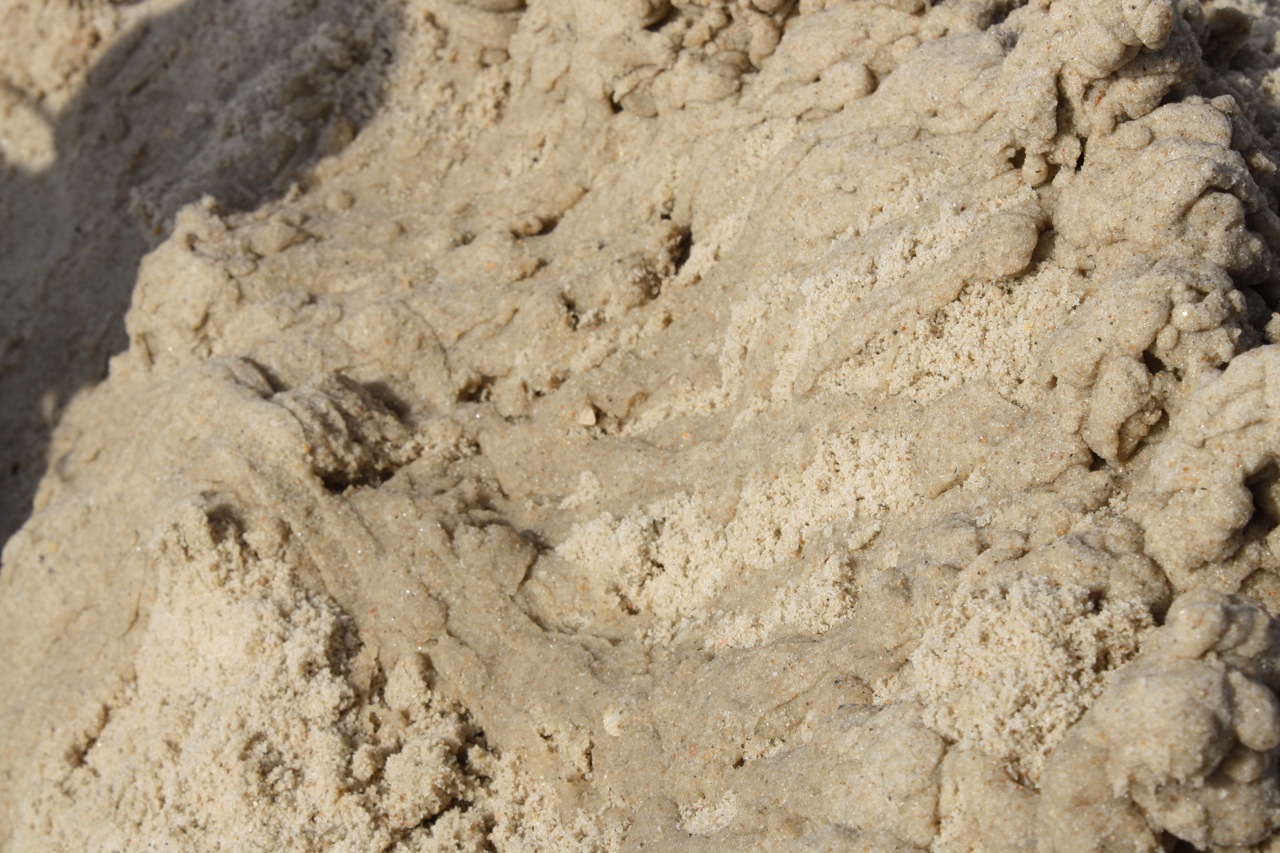
And as you fortify your castle along the top most parts, the water that drips along the way decorates as well. Making gorgeous lines.

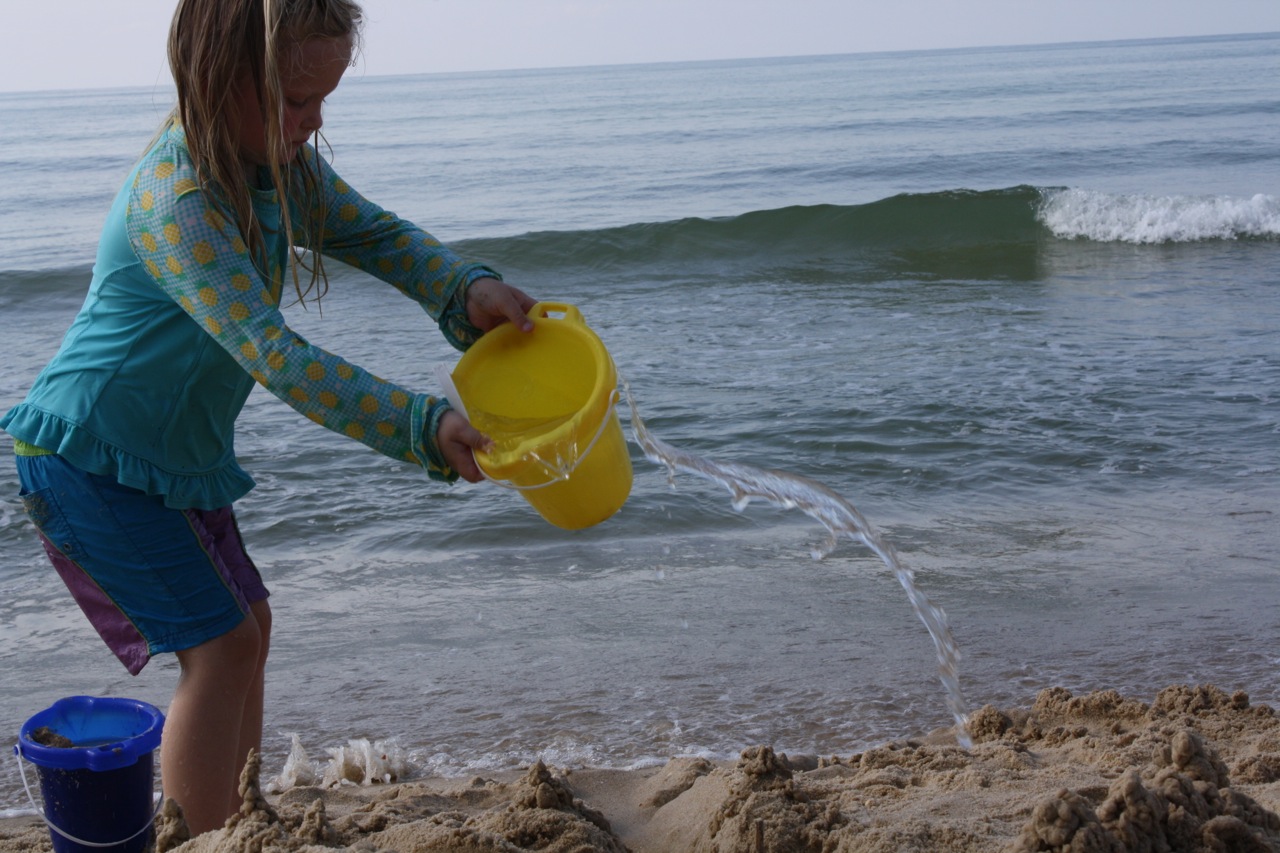
Feel free to use a bucket if you get impatient waiting on the surf to bring it for you.

Even enlist help from the closest water girl.

But keep decorating your castle, your walls, your drawbridge.

Add balconies for the princess or soldiers keeping watch on the approaching ship.

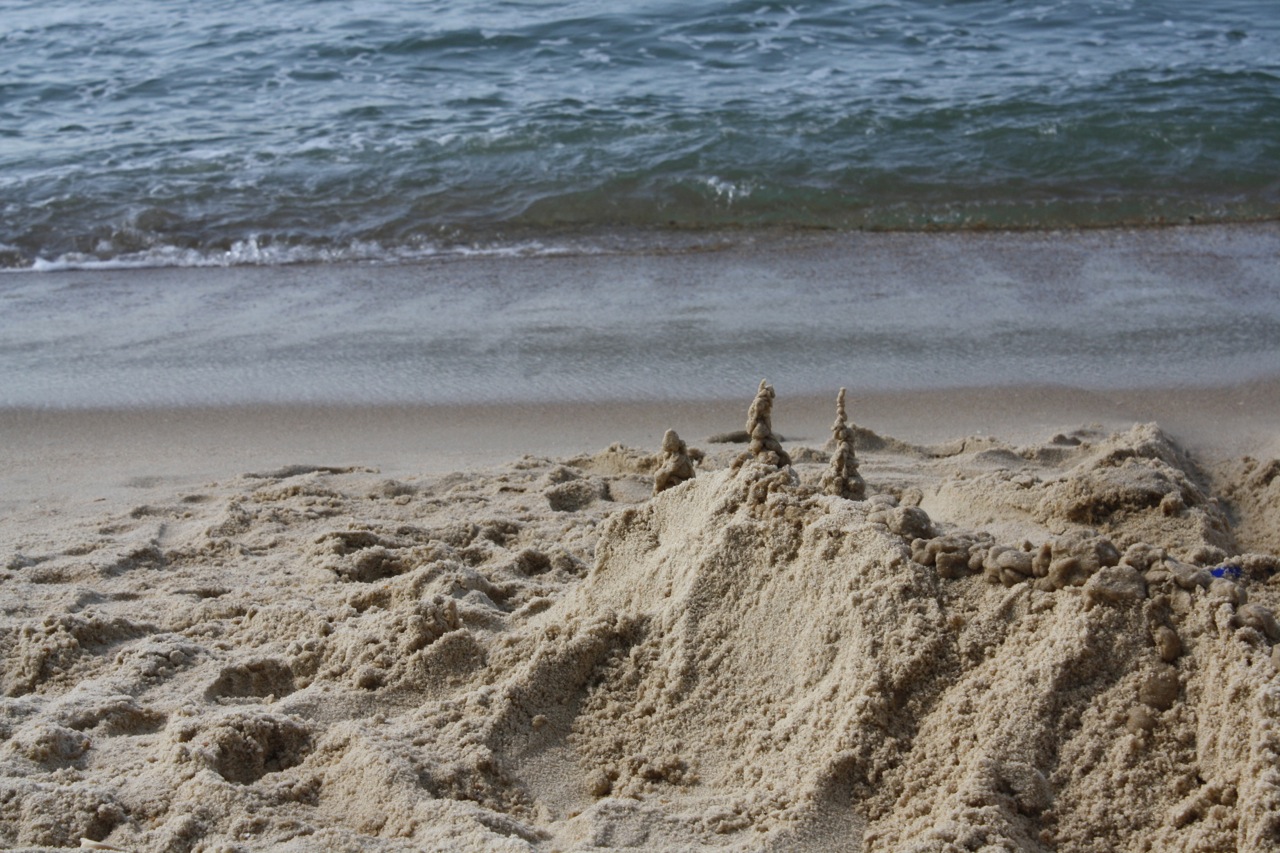
Add as many details as you like. Shells, bird feathers, driftwood bridges and door frames. But just know that your beautiful castle won’t last long.

Either the waves or the water girl will get it.

So be sure to get lot of pictures.

And keep on building castles. You can make them taller, bigger, wider. Another day when I didn’t have my camera we built neighboring castles with connecting moats.

We haven’t tried drip castles in the backyard sandbox. Have you? Phyllis @All Things Beautiful has a marvelous post on the Art and Industry of Sandcastles. Her post reminded me to share about the drip castles we built on vacation.

-Tricia homeschools five children from preschool to middle school. She’s forsaken life in the drive thru lane for the road home. She contributes a blend of writing at parenting, homeschool and frugal living sites. You can find her facing that daily dose of chaos at Hodgepodge. Tricia is a.k.a. Hodgepodgemom.

Related

  • Facebook
  • Google+
  • Instagram
  • Pinterest
  • Twitter
  • YouTube

About Hodgepodgemom

Tricia faces a daily dose of chaos homeschooling five children. The biggest lesson she’s learned? At the end of the day – when the dishes are put away and the children are tucked in bed – truly what matters is each child’s relationship with the Lord. Raising children is a God-given privilege and, folks, the time is short.

The Art of the Drip Castle
Tomato: A Pastels Tutorial

Comments

  1. Phyllis at All Things Beautiful says

    July 19, 2011 at 9:23 AM

    We need to try this method! It looks like so much fun! Thanks for the links.

    Reply
  2. Wendy says

    July 19, 2011 at 9:32 AM

    I’m 44 and still LOVE making drip castles. Nothing better than trying to see how high and skinny you can make the spires. Thanks for sharing!

    Reply
  3. Tricia says

    July 19, 2011 at 1:18 PM

    Definitely Phyllis! Wendy – I agree. Lots and lots of tall, skinny spires!

    Reply
  4. Lori says

    July 19, 2011 at 4:27 PM

    My kids love making drip castles- more like drip fortresses! Great pictures.

    Reply
  5. Sherri's Thoughts says

    July 19, 2011 at 10:26 PM

    Oh, my heart!

    Reply
  6. Melanie Robbins says

    July 20, 2011 at 2:06 AM

    Love, love the beach and dripping sand castles are the best! Thanks for sharing you and your children’s joy with us! 🙂

    Reply

Leave a Reply Cancel reply

Your email address will not be published. Required fields are marked *

Welcome to Hodgepodge!

Thanks for visiting! I'm Tricia and I've been homeschooling since 2000. I share the art and heart of homeschooling with helpful homeschool habits for multiple ages, recipes, reviews and more. It’s a Hodgepodge! Read More…


Free Homeschooling Download


{FREE} Download, ebooks and subscriber-only art tutorials

Success! Please check your email to confirm your subscription.

There was an error submitting your subscription. Please try again.


Get Tricia’s book!


Save

Save

Save

Save

Save

Save

Save

Save

Save

Save

Our Sister Websites


Art for All Ages


Categories

Follow Tricia Hodges | Hodgepodge's board Best of Hodgepodge on Pinterest.

Recent Comments

  • Hodgepodgemom on Nana’s Fudge Pie Recipe
  • Hodgepodgemom on How Do You Homeschool in December?
  • Hodgepodgemom on Christmas Star Chalk Pastel Tutorial
  • Dr. Nina Beck on Nana’s Fudge Pie Recipe
  • Kayla on How Do You Homeschool in December?
  • Contact us
  • Best of Hodgepodge
  • Parenting
  • Healthy Mama
  • Essential Oils
  • Recipes

Copyright © 2022 · Hodgepodge, a Southern Hodgepodge, L.L.C. site. | DMCA Notice