“Beauty puts a face on God. When we gaze at nature, at a loved one, at a work of art, our soul immediately recognizes and is drawn to the face of God.” ~ Margaret Brownley
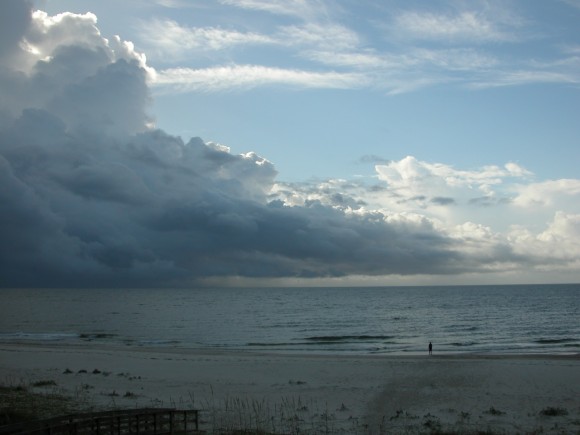
This pastel lesson was inspired by the above photo. That tiny figure out on the beach is my brother. A few years ago we were all together at the water’s edge. And on this particular morning there was a storm rolling in. He was feeling brave and went out to get the perspective. He went to see how long it might be before we all got to go out and play.
So last week, when the children and I studied summer weather during our Outdoor Hour Challenge, I kept going back in my mind to this photo. To the beach in general. Because there, at the beach, with the flat, unobstructed horizon, you can view weather amazingly well. Sunrises, sunsets and especially cumulonimbus clouds 🙂
I asked Nana if she’d show us how to create clouds in pastels to compliment our weather study. She not only taught us about clouds, for this post she has explained it in her own words. She also brought a bonus technique. So now, let me introduce Nana…
This pastel tutorial today follows the grandchildren’s study of weather. It also has a short bonus lesson trying out the principles of “drawing on the right side of the brain.”
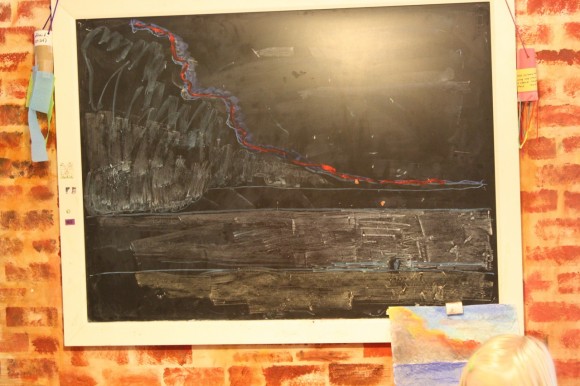
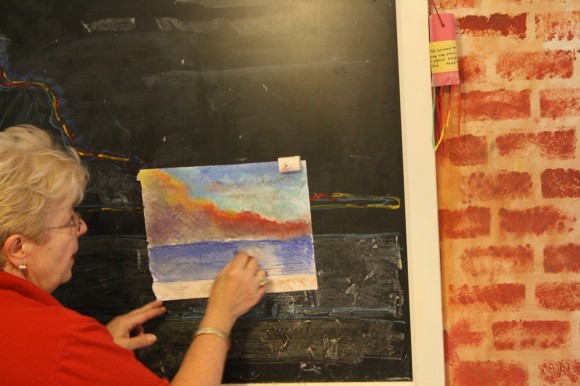
We began by looking at the picture of the approaching storm (photo at top). I had drawn the cloud outline on the chalkboard.
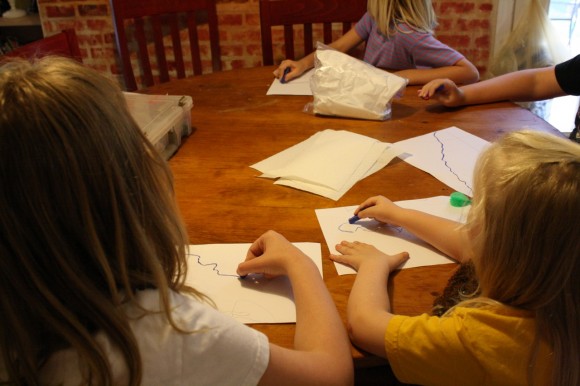
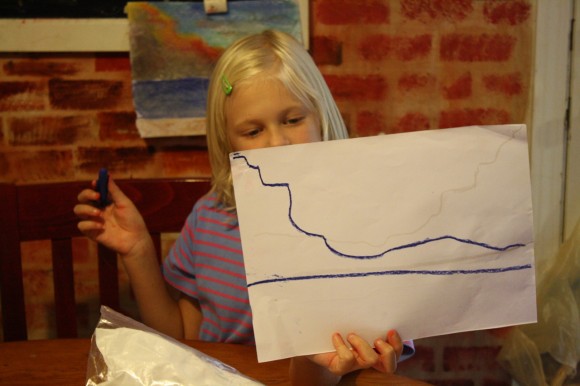
I told them to stare intently at the outline of the clouds and begin to draw…without looking at your paper or your hands while you draw.
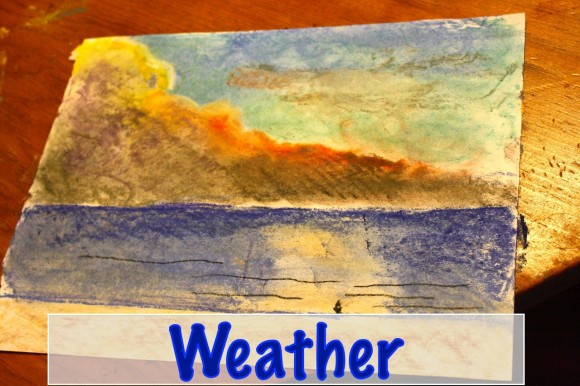
They thought this was funny and a bit strange, but as you can see, we had wonderful results with the outline of the storm clouds and the placement correctly done on the paper!
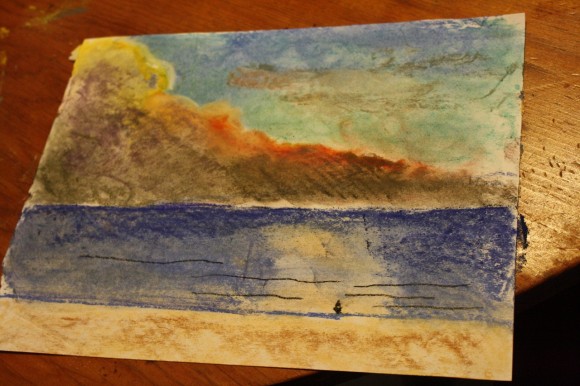
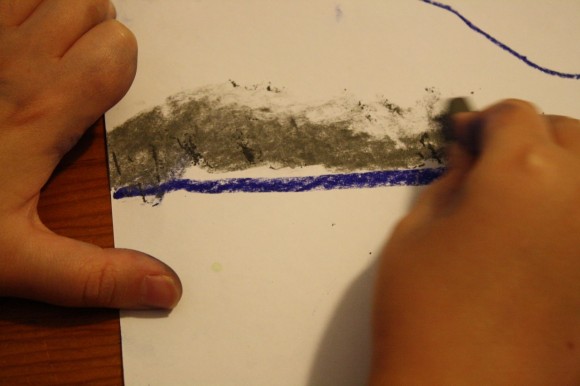
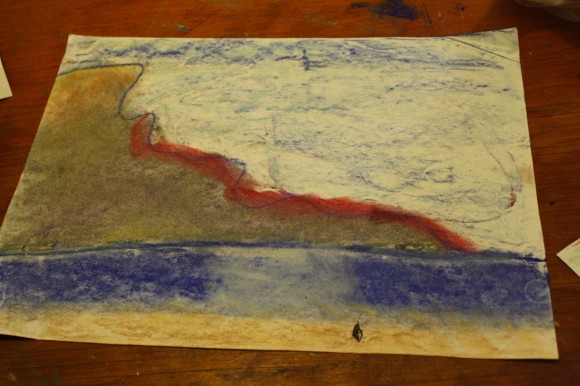
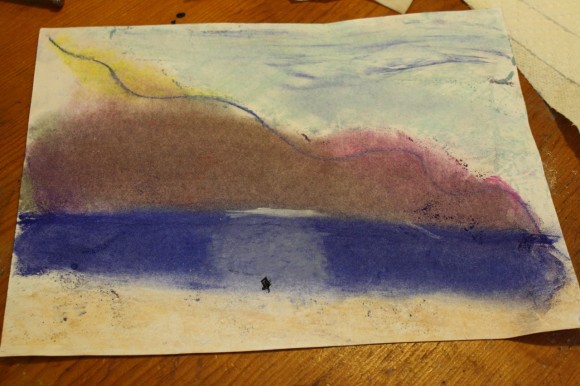
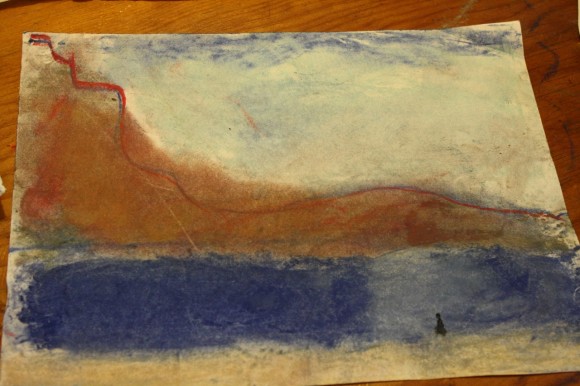
Moving on, the first step was putting on our darkest cloud colors; that is where the rain is!
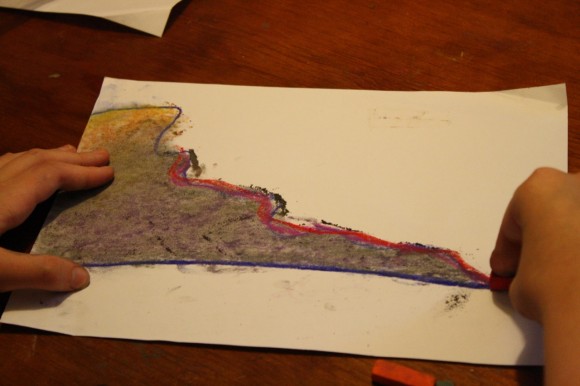
We knew that the sun was beginning to rise, so we tipped bright corals and oranges on the clouds at the top.
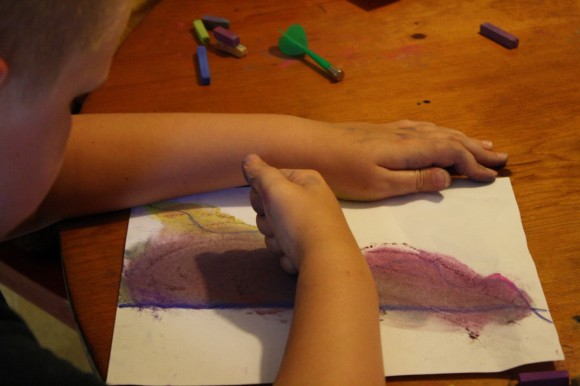
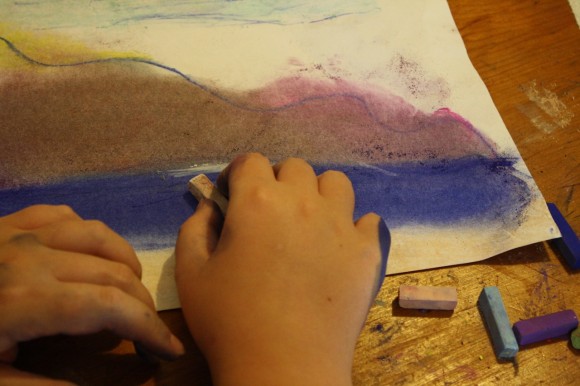
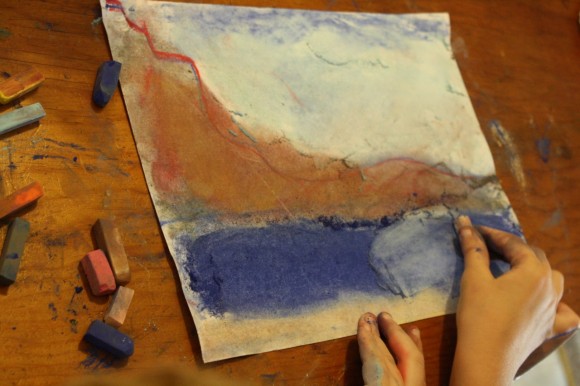
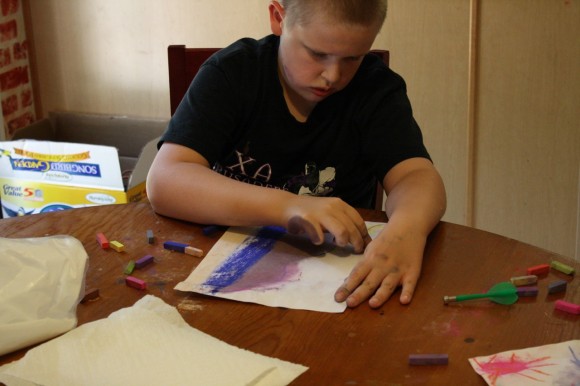
We put more purple and blues to show how stormy it was getting. We ‘fisted in’ the colors, blending them with the side of our fists.
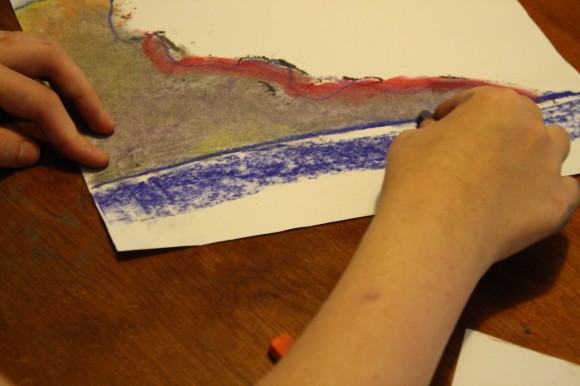
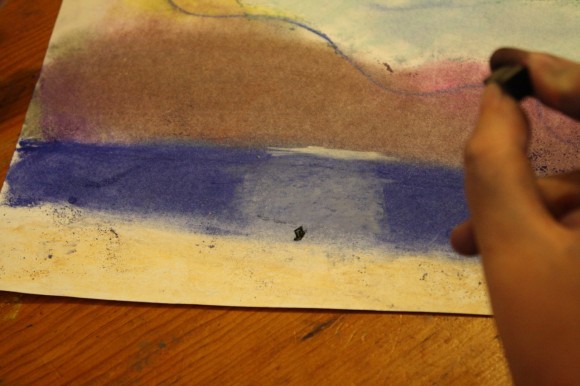
The ocean was next, it was not its usual bright aqua, but was a dark sea, reflecting the clouds above. I reminded them to leave a bit of white on the horizon to let the light through.
The sky needed attention, and we applied some light aqua then a darker blue at the top of the painting and “fisted” it in with the side of our hands to blend and soften the sky.
Beach color was added in a pale pink, fisted it in lightly, and “skumbled” in a brown on top of the beach color by turning the brown pastel stick on the side and very lightly rubbing it or “skumbling” the color on top.
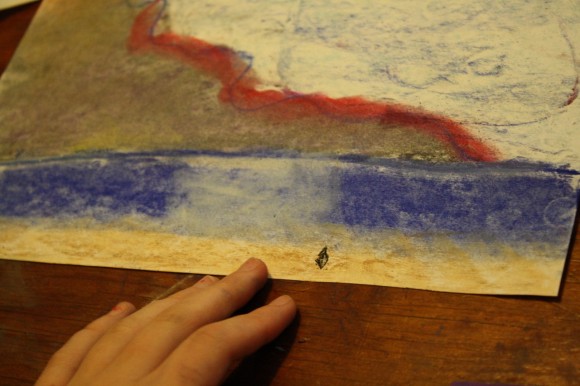
Just a few little tweaks with some extra red and yellow on the clouds, and we were ready to put on the tiny, tiny figure of their Uncle Chip walking on the beach before the storm.
We laughed about making the figure too big, making him look like a giant monster coming out of the sea…
…and learned about perspective in making the figure look far away from the viewer.
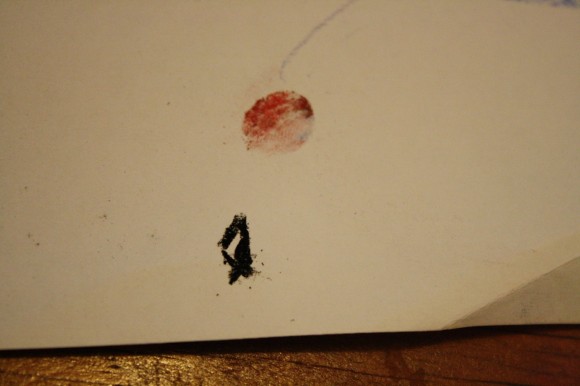
To make a small figure on the horizon, just draw a tiny diamond shape. Put a dot of a circle on top for the head.
Then, we were through. Beautiful offerings of nature, recorded through children’s eyes!
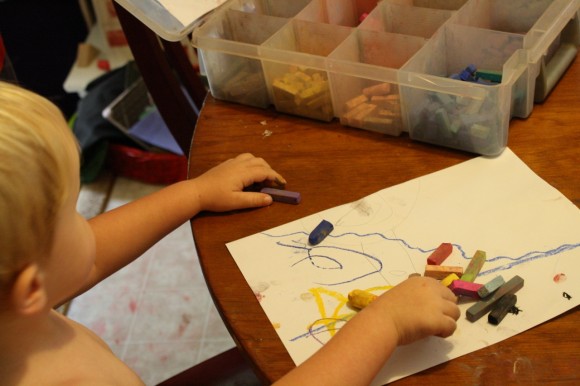
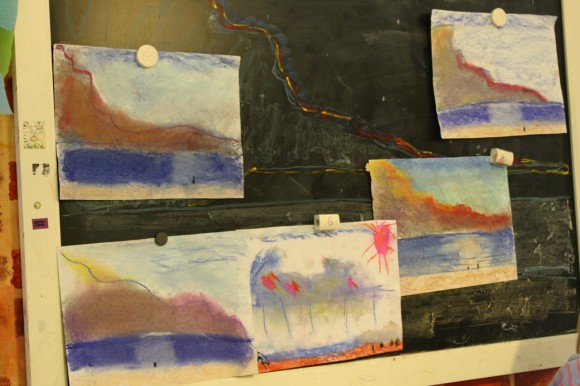
Even Lil’ Buddy picked out some colors and joined in at the very end.
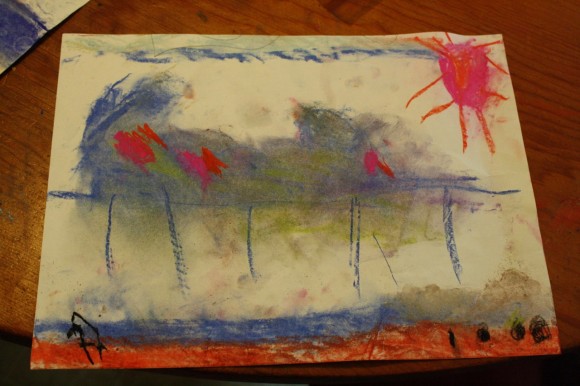
Four-year-old’s picture, “with rain!”
Seven-year-old
Eleven-year-old
Twelve-year-old
Tricia here. I had to step in and share a bit more. When we were done, we went to wash up. Nana suggested I share what happened next. Let me tell the rest of the story…
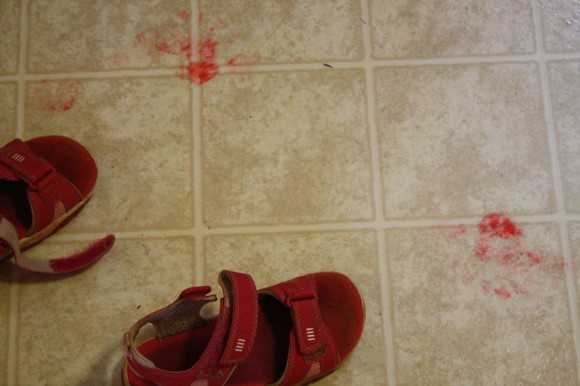
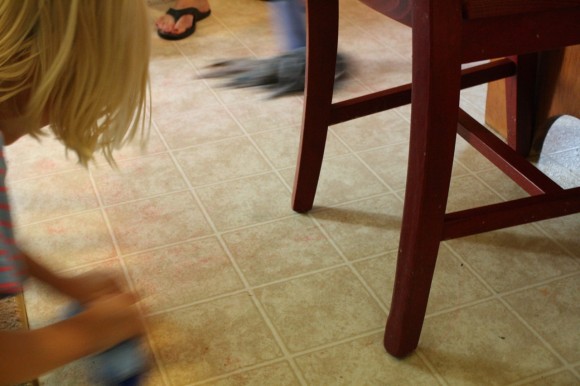
As we were wiping down the kitchen table with baby wipes, we noticed a dark pink pastel stick had fallen behind the table.
Nana had stepped in it, with her bare feet, while she was teaching. There were beautiful, pink footprints all underneath the chalkboard.
Then children stepped in it as they ran to wash hands. It was all over the linoleum. I had decided to keep the pastels right in the kitchen because they do stain carpet. (see All Things Chalkboard). After mopping with vinegar, we pulled out the Comet and the scrub brush.
The scrubbing finally cleaned it up. Just a bit of a warning for you to be sure to put newspaper down, wear smocks and take precautions so you can enjoy pastels without worry!
It is worth it.
Thank you Nana for teaching us how to draw beautiful clouds, for taking the time to teach us the techniques and describe them in your own words. And for helping clean up!
Featuring You! You ARE an Artist!
So, paint your weather picture and be sure to share with us! Simply tag @hodgepodgemom on social media, send a photo via the Hodgepodge contact form here or post on the Hodgepodge Facebook page. We will be sharing these via the Hodgepodge instagram or on our Art Tutorials Showcase Pinterest board – or both! Nana will even comment on a few I am sure!
Free eBook and More!
- Get your FREE ebook (with a coupon)! Getting Started in Chalk Pastel Art.
- See how you can get started in just three steps! Watch the one minute You ARE an Artist video at chalkpastel.com.
- A note on chalk pastels: Pastels are an easy, forgiving medium. Fun for children and adults alike! Details on the pastels and paper we use, how and where to purchase are in our series, Chalk Pastels 101. A simple set of chalk pastels is very affordable. Nana also teaches acrylic lessons.
- The practical aspects of a mess: Pastels are blessedly messy. We always have baby wipes close by to wipe hands. We wear something we don’t mind getting stained or don a smock.
- Be sure to subscribe to our Hodgepodge YouTube channel for free video art tutorials!
Have you subscribed to Hodgepodge so you won’t miss any free art tutorials?
~ from the July 2010 archives
BEAUTIFUL!!!